
Getting Started
Create an account, provision your VPS, connect via SSH/RDP, and apply basic security.
Create Your Account and Sign In BrainHost
To start using the BrainHost VPS service, first create your account and sign in.
- Sign up: Go to Sign Up
- Client area: Open Client Area
Important: Enable 2FA for your account to improve security.
Provision Your First VPS
Choose a region (Hong Kong / US-West) and a plan. After payment, your VPS will be automatically provisioned in about 30 seconds.
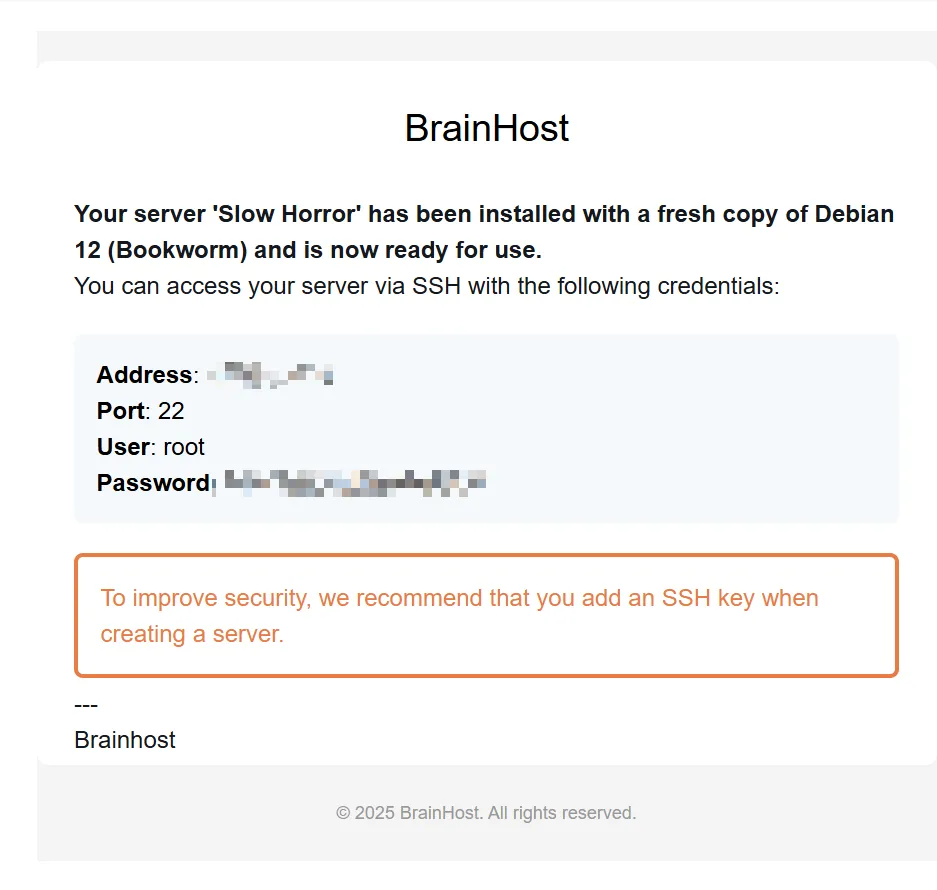
Tip: The initial login credentials (e.g., Linux root password or Windows Administrator password) are sent to your registered email. Please check your inbox and spam/junk folders. You can also view or reset the initial password in the BrainHost instance details page.
BrainHost Control Panel
BrainHost offers complete VPS management features, including OS reinstall, rescue mode, and WebVNC.
- One‑click OS reinstall
- Rescue mode and troubleshooting
- WebVNC remote console
- Real‑time resource monitoring
Connect via SSH (Linux/macOS/Windows)
Generate an SSH key and add the public key to the panel or your cloud‑image initialization script.
macOS/Linux example
# macOS/Linux
ssh -i ~/.ssh/id_rsa root@<VPS_IP>
Windows PowerShell 7+ example
# Windows (PowerShell 7+)
ssh -i C:\\Users\\<you>\\.ssh\\id_rsa root@<VPS_IP>
Common Issues
- Connection refused: Check security groups/firewall/SSH port configuration.
- Invalid key: Ensure file permission is 600 and the public key format is correct.
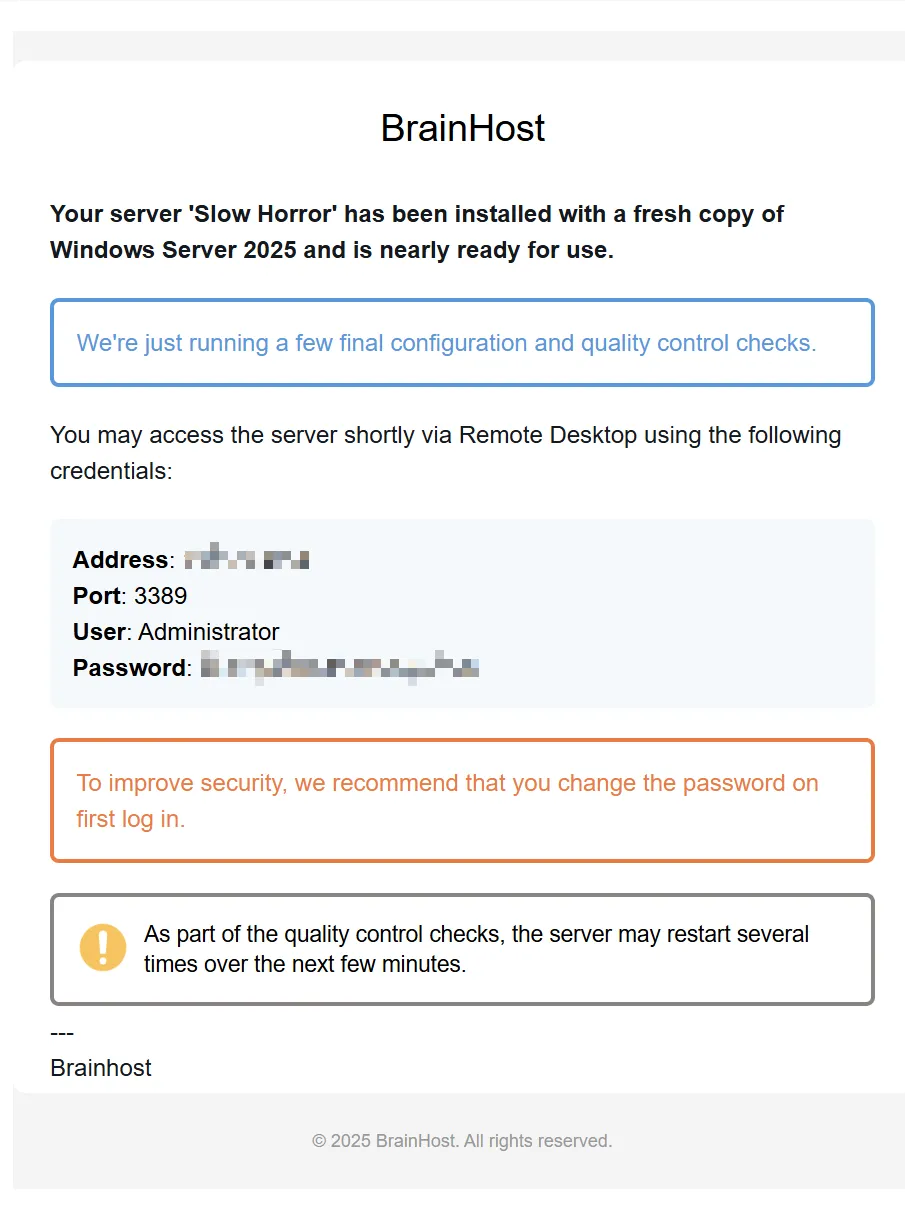
Windows RDP (if you purchased a Windows image)
View the initial password in the panel, then use Windows Remote Desktop (mstsc).
- Log in to the BrainHost control panel
- Find the initial Windows administrator password
- Open the Windows Remote Desktop client (mstsc)
- Enter the VPS IP address and credentials
Note: The initial Windows Administrator password is also emailed to your registered address. If you don’t see it, check the instance details in the panel to view or reset it.
Basic Security Hardening
Create a new user with sudo privileges, disable root password login, and configure a firewall.
Warning: Reinstalling the OS will erase data on the system disk. Create backups/snapshots first.
Security configuration script
# Create a new user and grant sudo privileges
adduser deploy && usermod -aG sudo deploy

# Copy SSH keys to the new user
rsync -av ~/.ssh/ /home/deploy/.ssh && chown -R deploy:deploy /home/deploy/.ssh

# Configure firewall
sudo ufw allow 22 && sudo ufw enable && sudo ufw status
Common Next Steps
After basic setup, you may want to:
System Management
- One‑click OS reinstall
- Custom ISO installation
- Rescue mode recovery
Data Protection
- Create system snapshots
- Schedule regular backups
- Restore from history
Related Docs
Need help?